Master Box have announced their newest model kits.
August 2010 releases was 2 model kits on Iraq War theme.
August 2010 releases was 2 model kits on Iraq War theme.
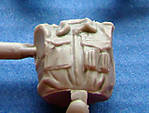
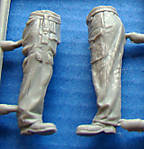
Iraq. Kit #1 US Troops 4 figures 1/35 Master Box 3575


Read more...
![]()

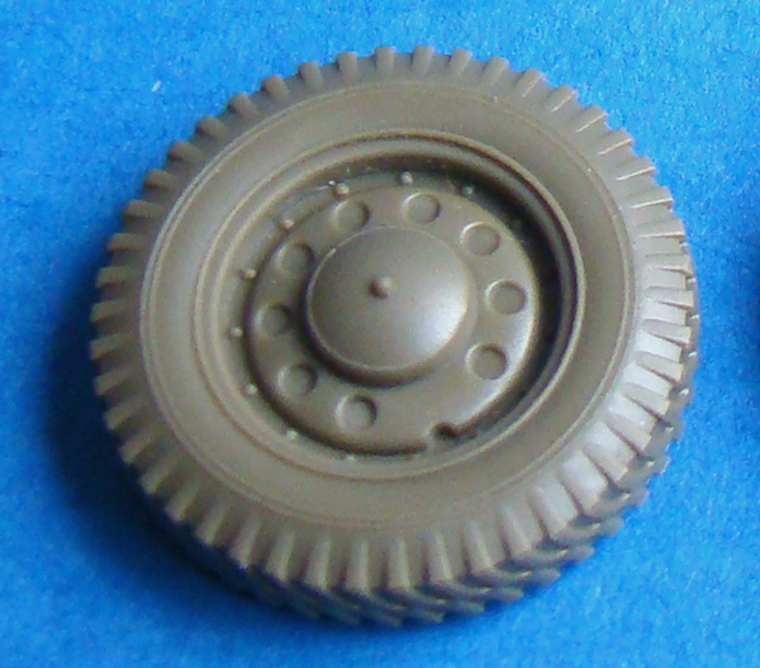
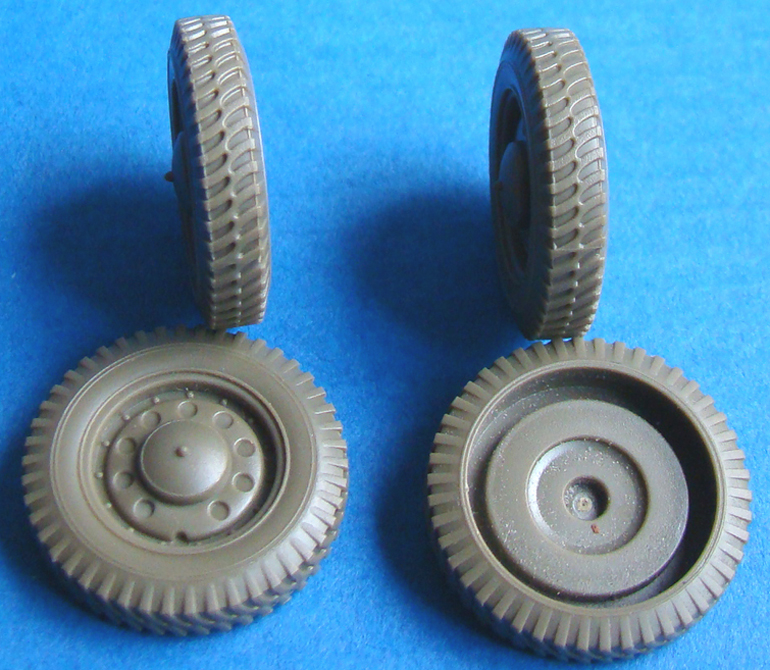
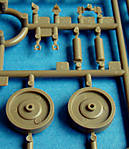
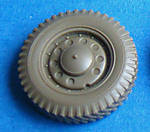
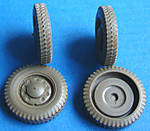
Molds looks good. Decals and Gum wheels are includedFinally!!! Roden has been released their first model kit in 1/35!!

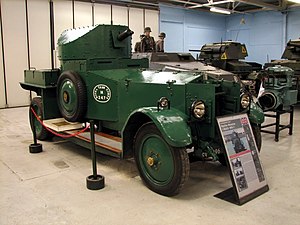
The Rolls-Royce armoured car was a British armoured car developed in 1914 and used in World War I and in the early part of World War II.
The Royal Naval Air Service raised the first British armoured car squadron during the First World War. In September 1914 all available Rolls Royce Silver Ghost chassis, including their engines whose power had been increased to about 80 hp, were requisitioned to form the basis for the new armoured car. The following month a special committee of the Admiralty Air Department, among whom was Flight Commander T.G. Hetherington, designed the superstructure which consisted of armoured bodywork and a single turret for a Vickers machine gun.
The first three vehicles were delivered on 3 December 1914, although by then the mobile period on the Western Front, where the primitive predecessors of the Rolls-Royce cars had served, had already come to an end. Chassis production was suspended in 1917 to enable Rolls-Royce to concentrate on aero engines.
The vehicle was modernized in 1920 and in 1924, resulting in Rolls-Royce 1920 Pattern and Rolls-Royce 1924 Pattern. In 1940, 34 vehicles which served in Egypt with the 11th Hussars regiment had the "old" turret replaced with an open-topped one carrying a Boys anti-tank rifle, .303 inch Bren machine gun and smoke grenade launchers.
Some vehicles in Egypt received new chassis from a Fordson truck and became known as Fordson Armoured Cars. Pictures show them as equipped with what appears to be turrets fitted with a Boys ATR, a machine gun and twin light machine guns for anti-aircraft defence.
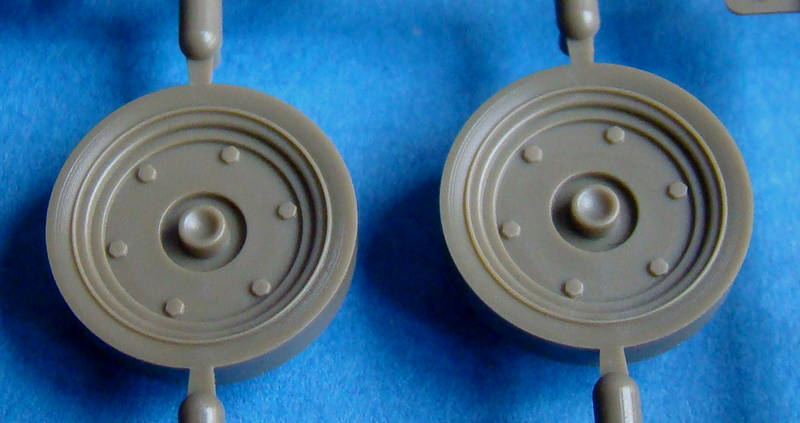
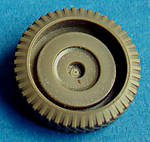
1920 Pattern Mk I - thicker radiator armor and new wheels.
| Rolls Royce Armoured Car | |
|---|---|
 Rolls Royce 1920 Pattern | |
| Type | Armored car |
| Place of origin | United Kingdom |
| Service history | |
| In service | 1915 to 1941 |
| Used by | United Kingdom Ireland |
| Wars | World War I, Irish Civil War, World War II |
| Production history | |
| Manufacturer | Rolls-Royce |
| Variants | Rolls-Royce 1920 Pattern, Rolls-Royce 1924 Pattern, Fordson Armored Car, Rolls Royce Indian Pattern |
| Specifications | |
| Weight | 4.2 tonnes |
| Length | 4.93 m (194 in) |
| Width | 1.93 m (76 in) |
| Height | 2.54 m (100 in) |
| Crew | 3 |
| | |
| Armor | 12 mm (0.47 in) |
| Primary armament | .303 Vickers machine gun |
| Secondary armament | none |
| Engine | 6 cylinder petrol 80 hp (60 kW) |
| Power/weight | 19 hp/tonne |
| Suspension | 4x2 wheel (double rear wheels), leaf spring |
| Operational range | 240 km |
| Speed | 72 km/h (45 mph) |
![]()
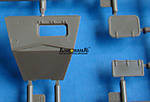
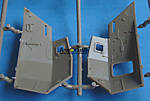
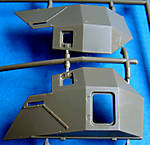
Dingo Mk. III Scout Car Miniart 35077

>
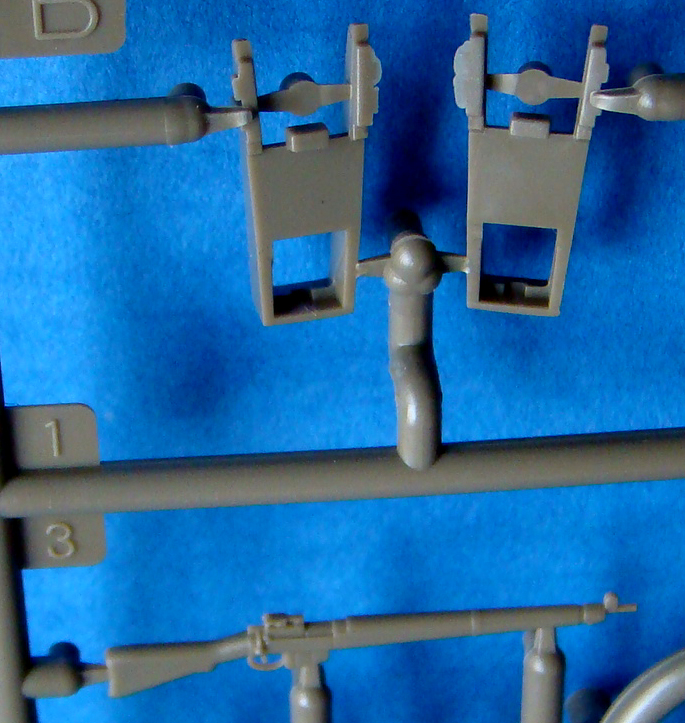
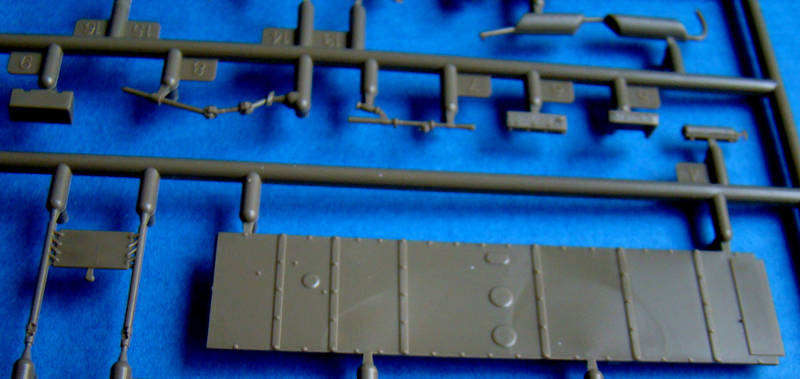
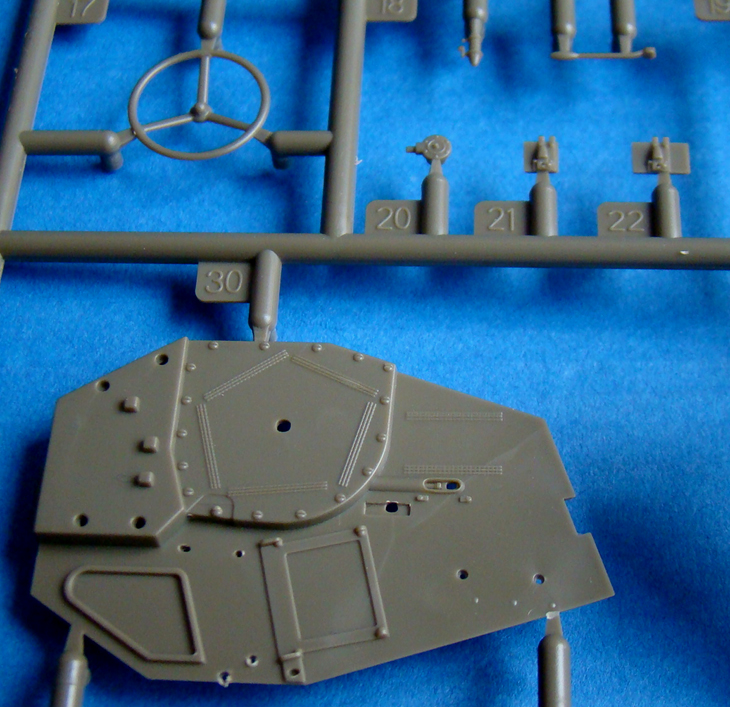
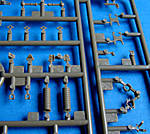
With regard to the internal details for a moment, everything is as it should be. The N º 19 radio is done well, with his battery, and the seats are very nicely detailed and the debate on the design of the originals. The Super Detailer may want additional cabling to areas such as the radio (the protective "cage" in the PE-leaf) and the wiring inside the building, but apart from that, pretty much everything is there.
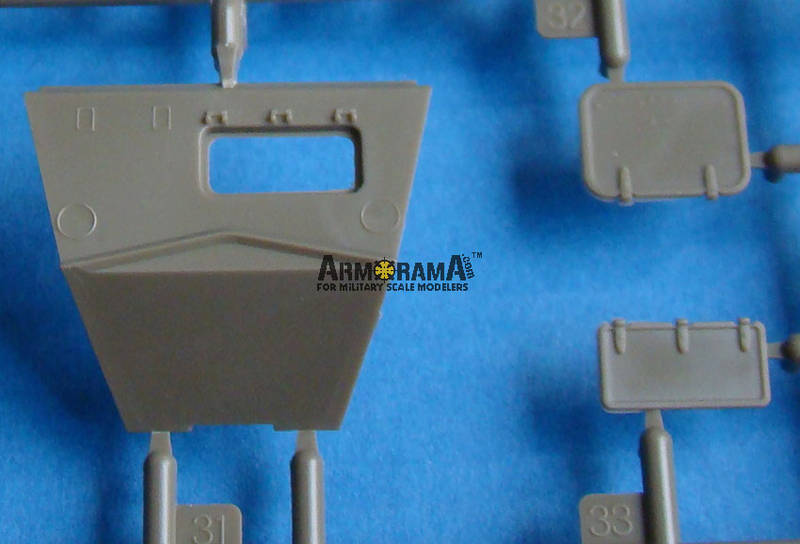
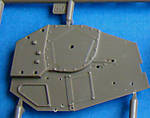
The hatch in the fuselage are finely made, although there is a very thin film of flash-round, they need careful cleaning.
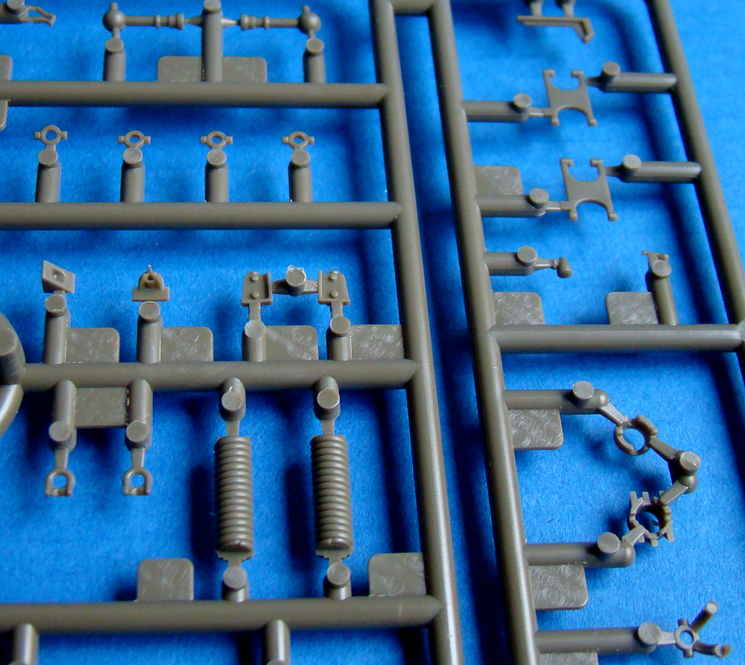
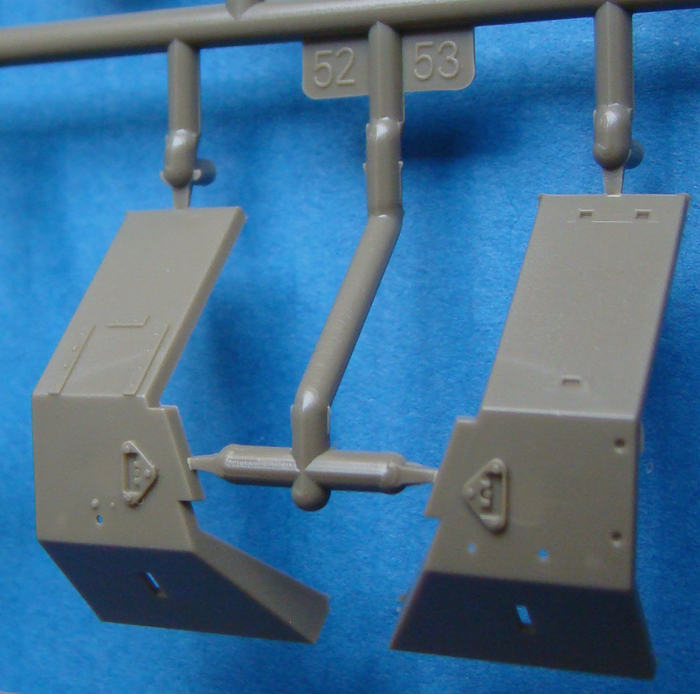
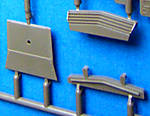
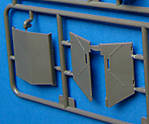
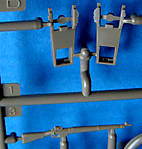
The suspension, it is for those who dislike complex constructions - Good News! - Suspension of Dingo is pretty simple. The big spring shock absorber is also a little more attention, because in my eyes, the coils are a little too close together. Not every kind of problem - a few minutes with a file should arrange it. The N º 19 aerial mount is well done, as well as the distinctive "British" fire extinguishers. Side lights and main lights, etc. are excellent reproductions of the originals - again, the company has done its homework on the little details.
I have only superficial measurements with my own plans, but from what I can tell, there are no glaring errors in the angles and dimensions.
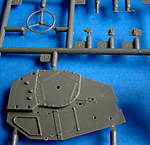
With the subtlety of some of the smaller parts, real care must be exercised as they consider their sprues - This is a very sophisticated model, and the small pieces reflect this.
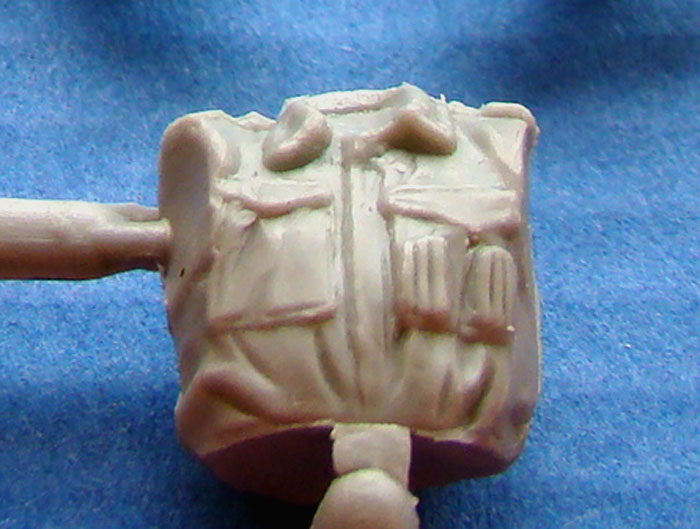
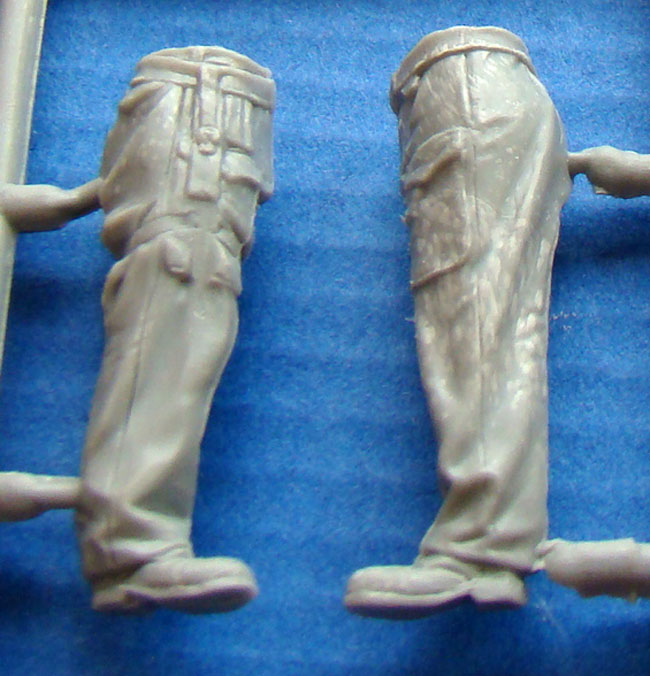
The crew figures
Hey! They are made MiniArt, and they are British. What more could you ask for? Well, in fairness, they are some very good numbers. Both are shown to bear the AFV Crew denim overalls. Check my references, once again, that all should be present there. A figure sits to the driver as the vehicle, the other, is the vehicle commander. Some light cleaning to eliminate some forms of lines, however, that apart from two excellent figures. Detail is crisp and right brains are good though perhaps some might want to use AM resin heads (especially to change the head-gear). In itself but a good sign for the future.
Conclusions
MiniArt, like all major manufacturers are not following "whims". They invest in the bars and tools, which are to maximize their investments. I would expect that the Italian Lince in the future along with the Mk.1 / 2 in the German service.
Once again, the long wait was worth it. This is an excellent model of a very common vehicle was in service for more than 30 years. The quality of the forms of the superlative is not in the "Shake 'n Bake" class, it is in a superb model with some basic modeling skills. Although I miss the gate, about what I had was enough for me to say that MiniArt have some serious work on this set, which is in sales - that earned in large quantities.
Finally, once again my thanks to the team of MiniArt Ltd for this network can be one of the first at this excellent model!


</span>
![]()

Masterbox Ltd have only the "official" information, which is particularly welcome that you, the big aircraft issues.
The company, which has an excellent reputation in 1/35th scale military topics are the pages in the aviation market.
Currently they are working on both flight crew and ground staff in 1/32nd-scale - an area that has unfortunately not in injection-molded styrene.
The list they have published is the following:
1 / 32 Scale. Military Miniatures
- 3201 Air Force flight and maintenance personnel
- 3202 U.S. Air Force flight and maintenance personnel
- 3203 Royal Air Force flight and maintenance personnel
- 3204 Imperial Japanese Air Force flight and maintenance personnel
- 3205 Soviet Air Force flight and maintenance personnel
In addition Masterbox have announced that they are in the planes with the following themes - in 1/35th scale
- 3568 Horsa MK 1 troop-contributing with an umbrella. Model numbers of the British paratroopers with this record.
- 3583 Horsa MK 1 troop-contributing with an umbrella. This model is consistent with the numbers of American paratroopers.
- 3584 Douglas C-47 Skytrain. This model is consistent with the numbers of U.S. aircraft and maintenance personnel and U.S. paratroopers.
- 3585 Douglas C-47. In British and Commonwealth Service, the C47 Dakota. This model is consistent with the numbers of British aircraft and maintenance personnel and the British paratroopers.
- 3587 German military cargo aircraft Junkers Ju-52. Affectionately as "Aunt Ju" by the German troops. Also in this series are the numbers of German aircraft, maintenance personnel and the German paratroops.
![]()
 What did you said, you will ask?! Yes!!!
US BANTAM JEEP Miniart 35014 1/35 ARE IN SALE!!!!
We waited for this release for a long long time.
Official date of release this model kit was an June 2008.
Miniart-models.com already in August signed Bantam Jeep as AVAILABLE but manufacturer delayed this model kit.
And now it happens! This kit come to first traders and during a month or more will be available in woldwide stores.
Let check again the model kit specifics:
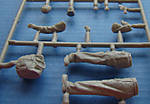
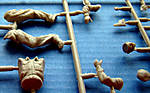
Bantam Jeep kit consist of 152 parts, this model contains the jeep vehicle along with five figures. This five figures was taken from stan alone model kit 35047 - US Jeep Crew.
This is the first model from any plastic manufacturer of this Bantam Jeep vehicle.
Retail Price: ~19.50 US$
THIS IS built US JEEP CREW 35047 photos:
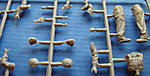
So here is a photos of built Bantam Jeep:
This is a main mold of Jeep. As we can see form picture, this is high detailed kit.


And here is a box:
Photos was taken from www.plastic-models-store.com
![]()